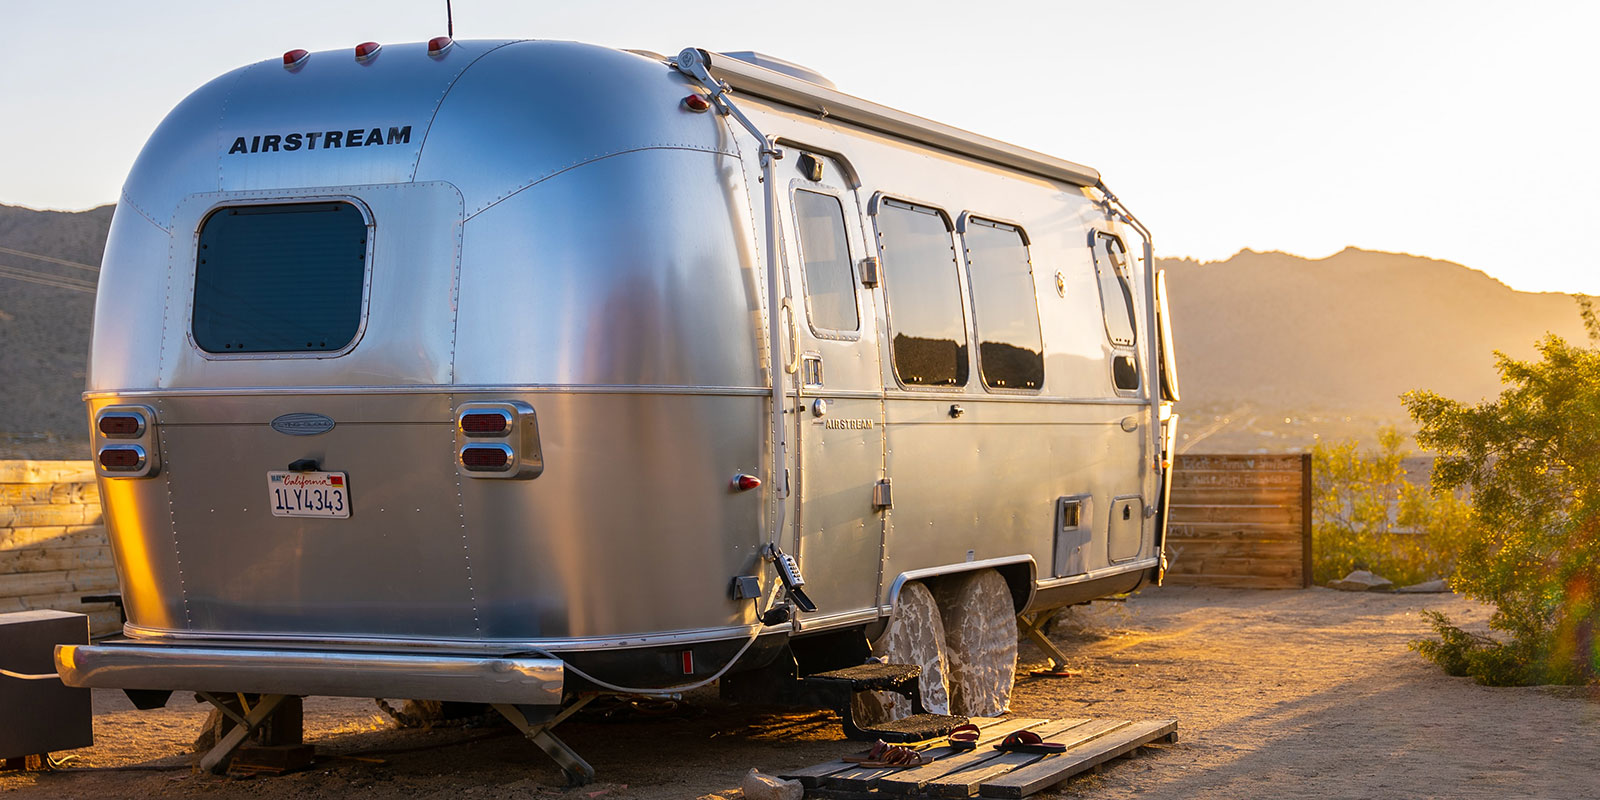
Replacing the lights on your trailer isn’t hard, but it can be a little scary if you don’t know what you’re doing. The good news is that replacing trailer lights doesn’t require any electrical experience or special skills, and it can be done in just a few simple steps.
The first step to replacing your trailer lights is to purchase new bulbs from your local auto parts store or to check the ones you already have with this easy guide on how to replace trailer lights. Most electrical parts on trailers such as bulbs are designed to come out very easily.
The process of trailer lights is quite simple because the items you need are quite cheap and you can use the tools you probably have in your home.
The tools you’ll need include screwdrivers – a Philips and a flat head, a pair of wire strippers, electrical tape, a putty knife to scrape off the old tape, and a sealant.
Can I Replace My Trailer Lights with LED?
LEDs are now a popular replacement for incandescent and halogen lights. They can last 20 times longer, use significantly less energy, and don’t have issues with flickering or buzzing.
But you should know that LEDs come in different sizes, shapes, and colors—not all of which will work on your trailer’s light socket.
If you have metal-halide lights installed on your trailer—commonly found in off-road vehicles—LEDs aren’t an option; those bulbs require specialty transformers that change voltage input. It’s a good idea to call around to local parts stores first so you’ll know if they carry what you need before making a trip out.
How Do You Rewire Trailer Lights?
Wiring a trailer can be intimidating for people who aren’t accustomed to electrical work. But fortunately, if you have basic knowledge of circuits and light fixtures, installing new lights is relatively simple.
If you need to install more than one set of lights on your trailer, it’s best to start by wiring up one pair at a time; that way you can turn off the power from one switch and focus on wiring just one set of lights before moving on.
How Do You Remove a Tail Light from a Trailer?
Trailer lights are attached with screws and in some cases, push on-push off connectors. When attaching new tail lights or other trailer lights, avoid touching any of your light bulbs.
The oils from your hands can cause them to burn out faster than normal. Also, make sure you replace any of your rusty parts with galvanized steel since it won’t rust as quickly and is much safer for you and others around you.
After all is said and done, check all of your lights a few times during daylight hours just to be sure that everything is working properly!
Conclusion
To replace any lights on your trailer, remove their clips and remove any bulbs that are already installed. Put your new lights in place and then clip them in with new, strong clips.
If you’re having trouble with replacing your own lights, a qualified truck repair shop will be happy to help for a nominal fee.
Remember that proper lighting is essential for safety when driving at night so make sure all of your lights are functioning before hitting the road again.


